


Just got a new Sage espresso machine? Here’s what you need to know to be a great home-barista.
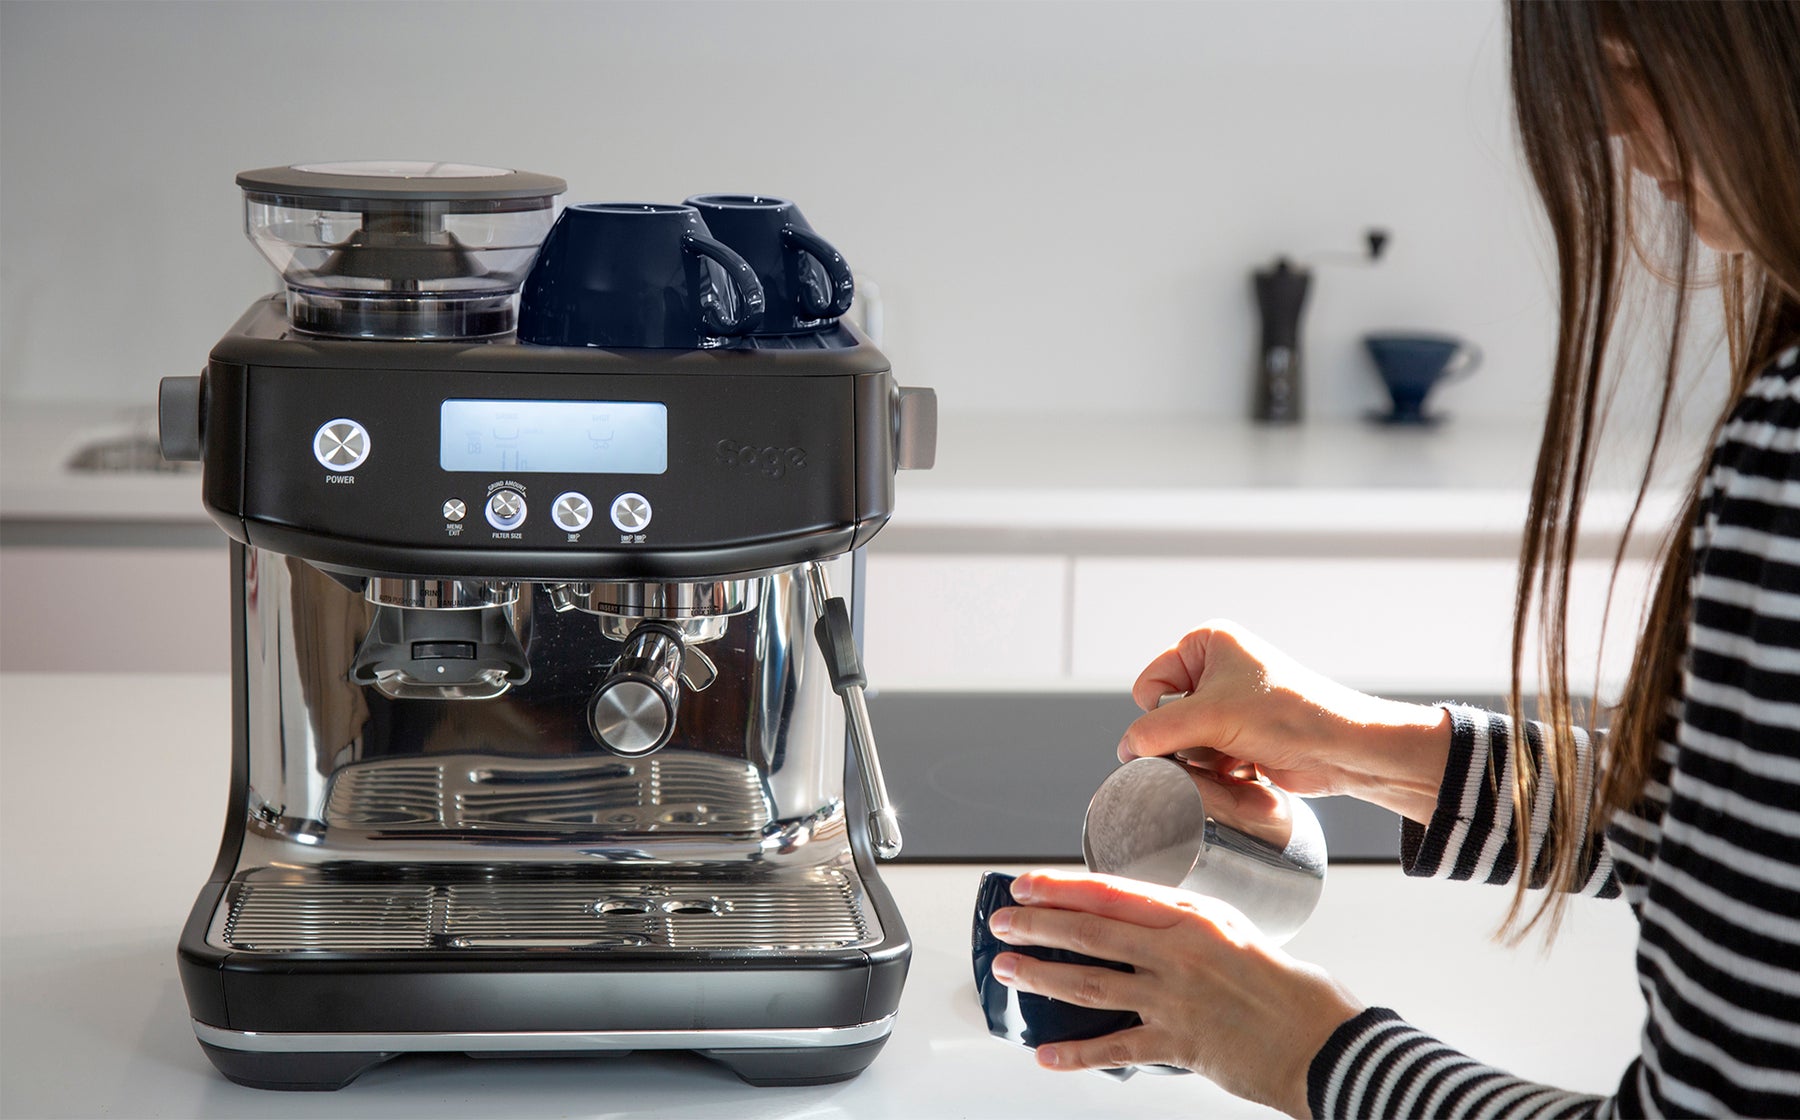
Have you just become the proud owner of a new Sage espresso machine? Well done, you’ve made a great choice! If you want to make the most of your new purchase and quickly get to grips with how to make a great cup of coffee you’ve come to the right place.
Read our handy guide to Sage machines to learn everything you need to know about your new coffee machine; from basics to mastery.
The Sage instruction manuals are pretty comprehensive, so we won’t re-hash the stuff you’ll find in there and strongly recommend you read it thoroughly before embarking on your home-espresso-maestro journey. But for extra hints and tips on making delicious coffee at home, read on!
The basics
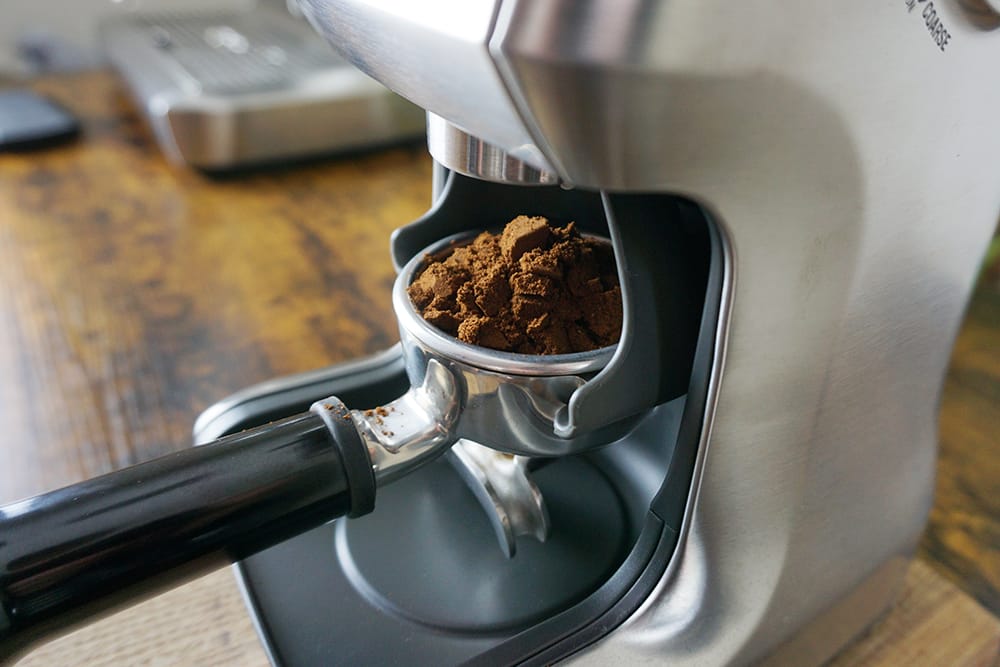
Espresso is the foundation of almost every drink you will make with your new Sage espresso machine. It’s crucial to follow the set-up guide closely and pay attention to settings and ratios. Ideally, you’ll invest in some precision scales to make setting up your new espresso machine easier. In which case aim for around 19g of ground coffee in, 38ml espresso out within around 24-28 seconds of pressing the button. (For information on pre-infusion, check the manual.)
When it comes to the milk, what gives it that silky, foamy body is the introduction of air. By holding the steam arm slightly out of the milk you can introduce air bubbles at the same time as heating. As the proteins in the milk heat up & expand, they wrap themselves around the air bubbles creating a micro-foam that holds its shape.
It’s important to complete this process before the milk gets hot (ie in the first few seconds of steaming). If the milk reaches body temperature before you’ve added any air into it, it’s too late! Start adding air into the milk as soon as you flip on the steam arm, once the milk is textured, dip the steam arm down into the milk to concentrate on heating it.
Expert level

If you’re looking for next-level coffee; the quickest way to achieve it is to start taking your weights and measures very seriously. As stated above; it’s crucial to dial in each new coffee but the truly masterful home barista weighs and measures each and every shot of coffee

The Felicita Coffee Scales range, and more specifically the Felicita Arc scales are perfect for this as they allow you to weigh out your ground espresso, then sit snugly on the drip tray so you can weigh out the espresso liquid shot too. We recommend pressing the manual shot button and switching it off again just before you hit your desired weight (this allows the last drips to make up the weight, rather than going over).

Precision scales that measure in tiny increments are a must for the master-barista. As you gain more expertise you may want to experiment with the ratio of ground coffee in: liquid espresso out, but a good starting place is 1:2. Generally between 1:1.5 and 1:2 gets the best results
Expert-level milk requires perfection in three areas: texture, temperature and pour. So, here’s how to ace each one:
Texture: Gently does it when introducing air into your milk. Baristas call it ‘kissing’ the milk; rather than allowing the steam arm to blow in great gusts of air, keep it small and controlled. You should hear a gentle ‘tick tick tick’ or smooching sound. The smaller those air bubbles are, the less likely they are to collapse.
Temperature: Too cold & you dull the flavour of the espresso, too hot and you burn off all the sugars in the milk. Keep your hand on the side of the jug and as soon as it feels too hot to touch, switch off the steam arm. For most people this should be in the range of 55-67°c. If in doubt, get thermometer sticker for the side of the jug. We don’t recommend a stick-thermometer inside the jug as this can interrupt the vital movement of the milk.
Pour: After texturing, there will be two layers in your jug: hot milk at the bottom and a microfoam on the top. Give your jug a vigorous swirl to prevent complete separation. Then pour your drink in two stages: First, to combine espresso with the hot milk, hold you cup at an angle and pour from up high with a mixing motion.
Next bring the jug in low and change your pour to more of a pushing motion to let that micro-foam slide out onto the surface of the coffee. Now is the time to introduce some latte art, but this will only be possible if steps 1 & 2 were followed correctly.
Maintenance and cleaning
Happily, the Sage machines come with pretty much every accessory you will need to get into a good cleaning routine. To keep your new espresso machine in good working order, prevention is much better than cure.
Our top tips are to change the water filters often, pay close attention to cleaning the group head and always purge your steam after each use. For more comprehensive advice check out our full cleaning and troubleshooting guide.
__